

Honeycomb is an observability platform built for high-cardinality data that helps you understand and debug your applications. By exporting your Cloudflare Workers application telemetry to Honeycomb, you can:
- Visualize traces to understand request flows and identify performance bottlenecks
- Query and analyze logs with unlimited dimensionality across any attribute
- Create custom queries and dashboards to monitor your Workers
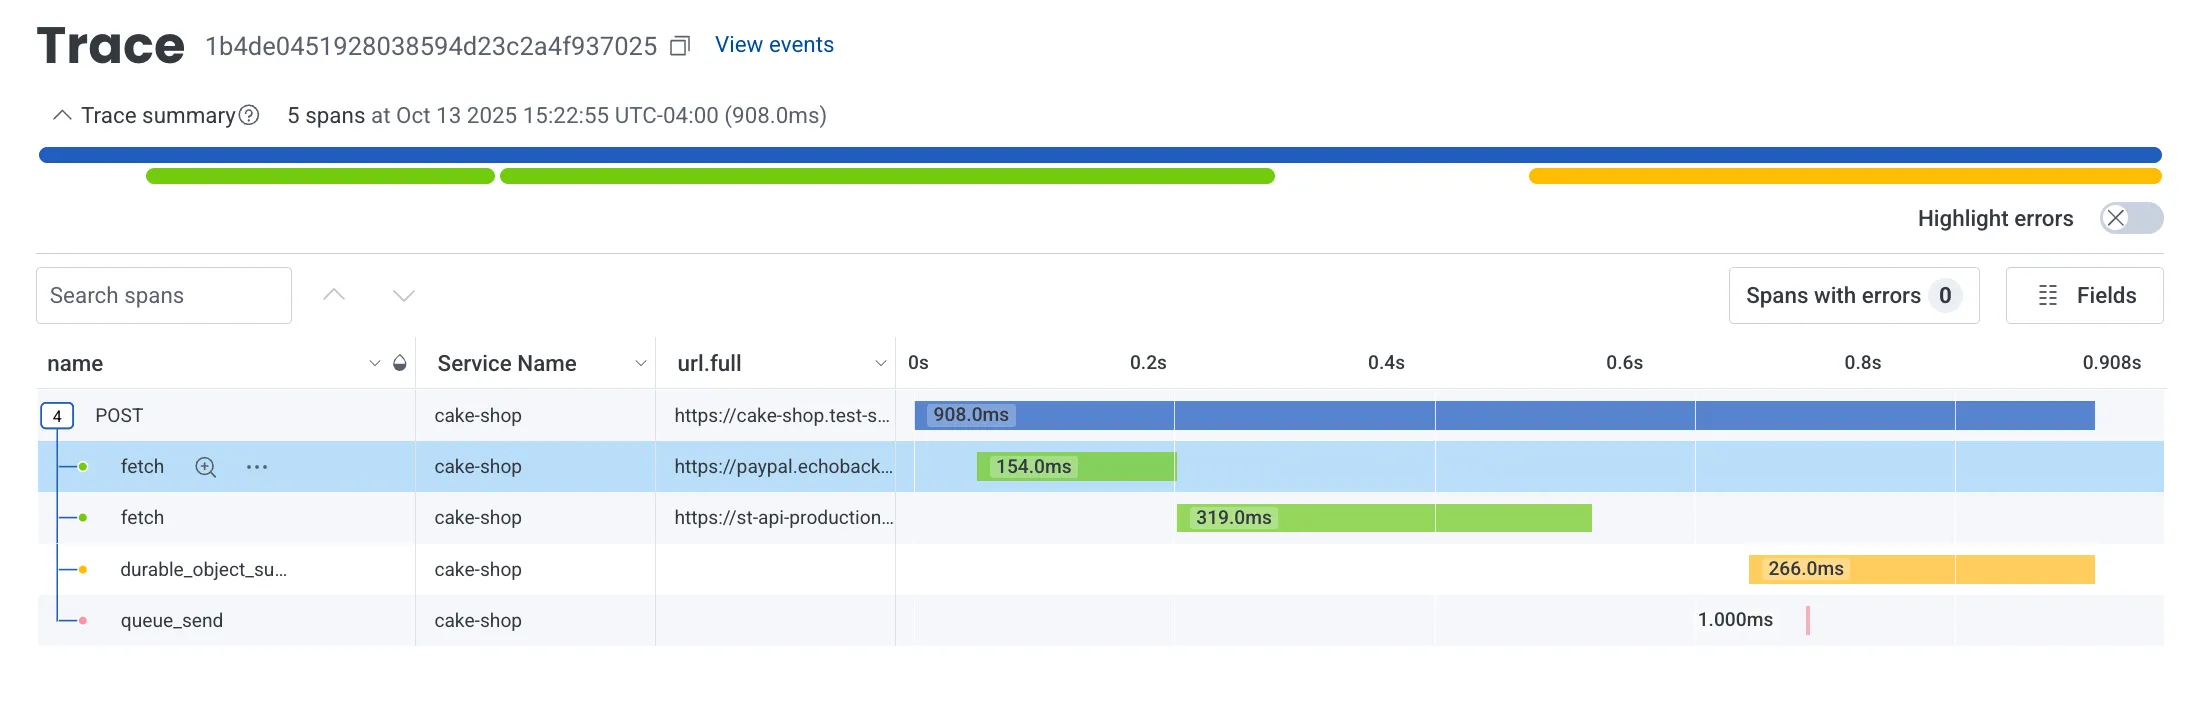
This guide will walk you through configuring your Cloudflare Worker application to export OpenTelemetry-compliant traces and logs to Honeycomb.
Before you begin, ensure you have:
- An active Honeycomb account ↗ (free tier available)
- A deployed Worker that you want to monitor
- Log in to your Honeycomb account ↗
- Navigate to your account settings by clicking on your profile icon in the top right
- Select Team Settings
- In the left sidebar, click Environments and click the gear icon
- Find your environment (e.g.,
production,test) or create a new one - Under API Keys, click Create Ingest API Key
- Configure your API key:
- Name: Enter a descriptive name (e.g.,
cloudflare-workers-otel) - Permissions: Select Can create services/datasets (required for OTLP ingestion)
- Name: Enter a descriptive name (e.g.,
- Click Create
- Important: Copy the API key immediately and store it securely - you won't be able to see it again
The API key will look something like: hcaik_01hq...
Now you'll create destinations in the Cloudflare dashboard that point to Honeycomb.
Honeycomb provides separate OTLP endpoints for traces and logs:
- Traces:
https://api.honeycomb.io/v1/traces - Logs:
https://api.honeycomb.io/v1/logs
- Navigate to your Cloudflare account's Workers Observability ↗ section
- Click Add destination
- Configure your trace destination:
- Destination Name:
honeycomb-traces(or any descriptive name) - Destination Type: Select Traces
- OTLP Endpoint:
https://api.honeycomb.io/v1/traces - Custom Headers: Add the authentication header:
- Header name:
x-honeycomb-team - Header value: Your Honeycomb API key (e.g.,
hcaik_01hq...)
- Header name:
- Destination Name:
- Click Save
Repeat the process for logs:
- Click Add destination again
- Configure your logs destination:
- Destination Name:
honeycomb-logs(or any descriptive name) - Destination Type: Select Logs
- OTLP Endpoint:
https://api.honeycomb.io/v1/logs - Custom Headers: Add the authentication header:
- Header name:
x-honeycomb-team - Header value: Your Honeycomb API key (same as above)
- Header name:
- Destination Name:
- Click Save
With your destinations created in the Cloudflare dashboard, update your Worker's configuration to enable telemetry export.
{
  "observability": {
    "traces": {
      "enabled": true,
      // Must match the destination name in the dashboard
      "destinations": ["honeycomb-traces"]
    },
    "logs": {
      "enabled": true,
      // Must match the destination name in the dashboard
      "destinations": ["honeycomb-logs"]
    }
  }
}[observability.traces]
enabled = true
destinations = [ "honeycomb-traces" ]
[observability.logs]
enabled = true
destinations = [ "honeycomb-logs" ]After updating your configuration, deploy your Worker for the changes to take effect.